Ce facem?
Oferim servicii complete de webdesign, de la website-uri de prezentare și ziare online, la magazine online la cheie și optimizare SEO, precum și servicii de mentenanță aferente.
Web Design
Creăm pagini web la cele mai noi standarde în domeniu, cu unelte moderne și pe platforme stabile. Ne asigurăm că sunt folosite tehnici de ultimă oră pentru a realiza un design cât mai actual, conform ultimelor tendințe în designul web.
Panou de control
Toate proiectele noastre sunt însoțite de un panou de control performant și ușor de utilizat, cu ajutorul căruia să puteți administra singuri conținutul site-ului dumneavoastră, fie că este vorba de un website de prezentare sau de un magazin online la cheie.
SEO
Întreg conținutul site-urilor este optimizat la maxim pentru căutările pe Google, aducând un trafic sporit. Optimizarea pentru motoarele de căutare este în opinia noastră unul din elementele fundamentale ce țin de prezența clienților pe web.
Mobile-friendly
Designul este responsive și mobile-friendly, ceea ce asigură o funcționare perfectă și o afișare optimă a conținutului pe orice tip de ecran, fie că este vorba despre desktop, telefon mobil / smartphone sau tabletă.
Design grafic
Fie că este vorba de o siglă, o carte de vizită sau de un pachet complet de identitate vizuală, integrate în designul website-ului sau realizate separat, vă stăm la dispoziție cu idei, consultanță și realizare practică.
Magazine online
Magazinele virtuale create de noi se remarcă prin designul inovator, interacțiunea facilă cu utilizatorii și funcționalitatea impecabilă. La acestea se adaugă și ușurința administrării comenzilor și produselor magazinului online.
Email Marketing
Pentru a ține legătura cu clienții dumneavoastră, este necesar să îi informați constant despre noutăți și oferte. Puteți face aceasta fie apelând la o campanie de marketing prin email, fie prin implementarea unui sistem de newsletter. Noi le oferim pe ambele.
Bloguri și reviste
Dacă scrieți articole pentru blogul personal, sunteți pasionat de fotografie sau doriți să publicați online un ziar sau o revistă, oferim soluții complete pentru transpunerea creativității dumneavoastră în mediul virtual.
Social media
Un aspect important al prezenței dumneavoastră pe web este interacțiunea din social media. Realizăm, administrăm și promovăm pagini personalizate pe Facebook, dar și Twitter și LinkedIn, oferind totodată sfaturi și sugestii în utilizarea lor.
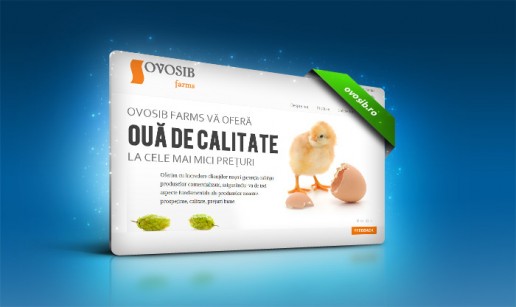
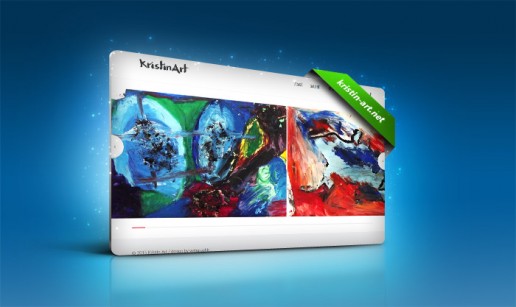
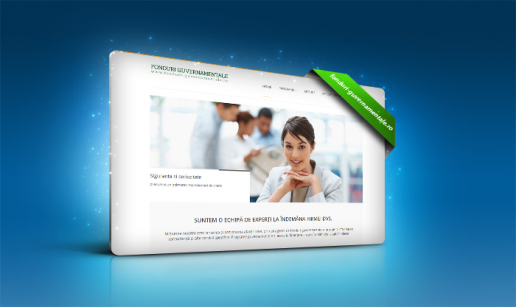
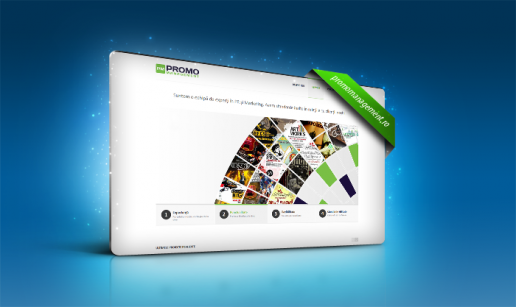
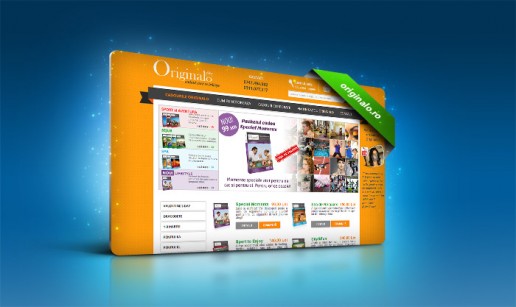
Portofoliu
Ultimele proiecte de webdesign finalizate. Ne mândrim cu un portofoliu consistent de proiecte web și cu un procent de 100% clienți mulțumiți, care ne recomandă.

125
PROIECTE FINALIZATE
19237
ORE DE LUCRU
5265
CAFELE ESPRESSO
78
CLIENÈšI
Blog
Articole și sfaturi de webdesign, web development și pagini Facebook, manual de bune practici în optimizarea pentru căutările Google, precum și noutăți din domeniul tendințelor web moderne.
Design modern și accesibil. Web 2.0
Un design eficient și atrăgător este un design modern, creativ, actual și la standarde…
Ce înseamnă „web design”?
Termenul de web design denumește întregul proces de creare a unui site web, de la etapa…
Cum să ascunzi un articol de pe blog
Recent a trebuit să găsim o soluție simplă și eficientă la următoarea problemă: cum să…
Sfaturi magazine online
Un website de tip magazin virtual sau magazin online oferă clientului un sistem modern și…
Design modern și eficient
Panou de administrare
Suport tehnic de nota 10
Contactați-ne
Dacă doriți mai multe informații despre serviciile noastre sau aveți nevoie de o ofertă personalizată pentru realizarea unui website, vă stăm la dispoziție și vă invităm să ne contactați prin metodele de mai jos:
TELEFONIC
(+40)752-118814
office@webgraphic.ro
PAGINA DE CONTACT
Accesați formularul de contact